
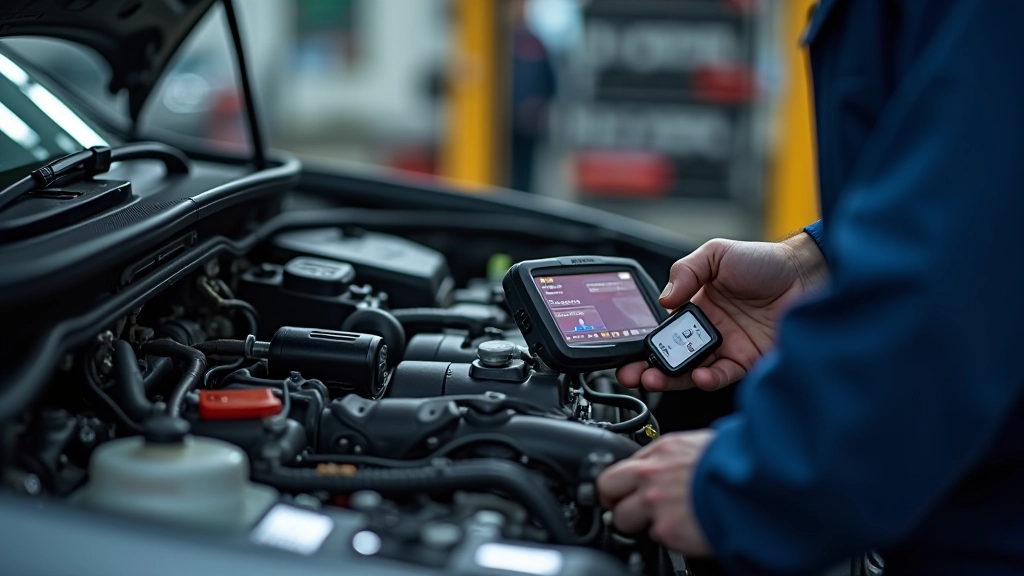
Gearbox Diagnostic Testing Explained
How diagnostic equipment identifies transmission problems. Covers common error codes, what they mean, and what happens during a professional diagnostic scan.
Read MoreComplete walkthrough of clutch replacement including removal, inspection, and reinstallation. Covers what to look for when assessing clutch wear and when replacement is necessary.
Author
Editorial Team
Written by the keltmark editorial team, focused on clear, practical guidance for clutch and gearbox repair in Tallinn.
Your clutch is what connects your engine to the transmission. It's doing hard work every time you shift gears. Over time — usually between 80,000 and 160,000 kilometers — the friction material wears down. When it does, you'll notice slipping, difficulty engaging gears, or a burning smell. That's when replacement becomes necessary.
The good news? This is a task that can be done systematically. It takes patience, the right tools, and clear steps. We're going to walk you through the entire process so you understand what's involved, what to inspect, and how to reinstall everything properly.
Before you start, you need a workspace. A clean, level surface is essential — ideally a garage with adequate lighting and ventilation. The transmission oil can be messy, so prepare your workspace accordingly. You'll want to drain the transmission fluid first, which means having a suitable container ready.
Safety is non-negotiable. Disconnect the negative terminal of the battery immediately. This prevents accidental engine starting and protects electrical components. Use wheel chocks on the rear wheels if you're only lifting the front. Support the vehicle on jack stands — never rely solely on a jack. It's tedious, but it saves lives.
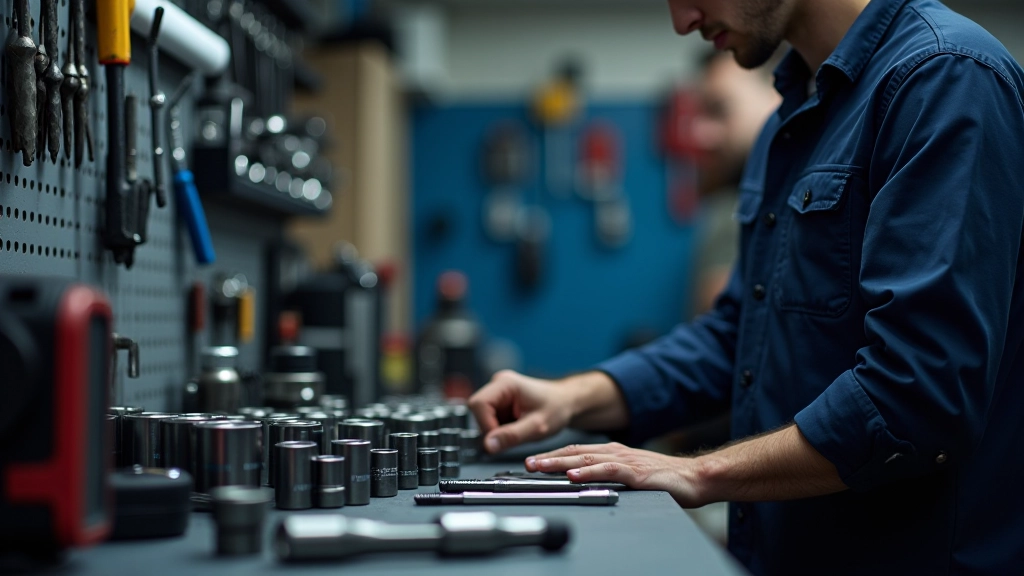
You'll need specific tools: a transmission jack, socket set, torque wrench, screwdrivers, pliers, and a clutch alignment tool. The alignment tool is crucial — it ensures the clutch disc sits properly when you reinstall the pressure plate. Without it, the disc can shift off-center and cause grinding.
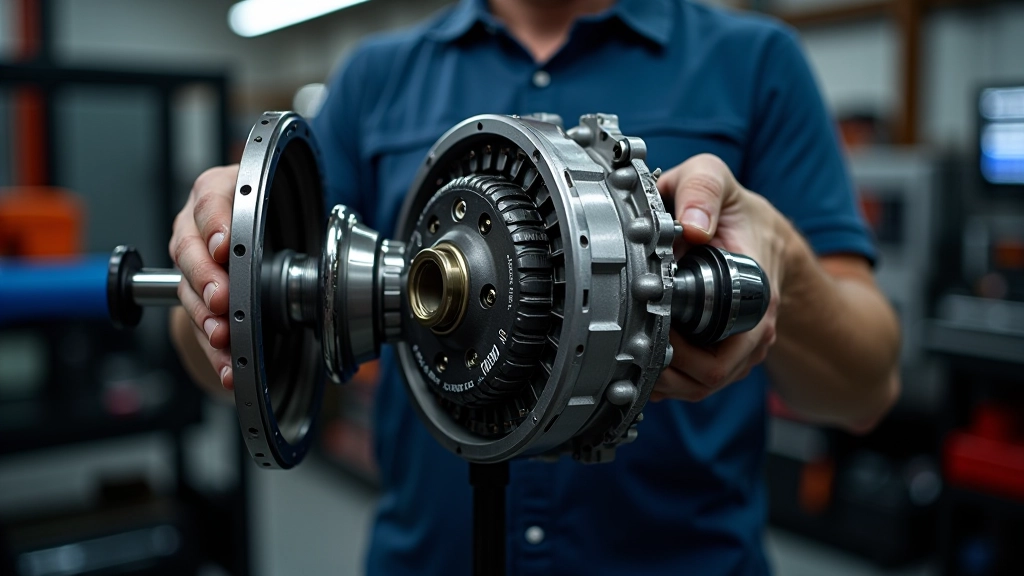
Once you've prepared the workspace and removed the battery connection, it's time to remove the transmission. You'll need to disconnect the driveshaft first — mark its position so you can reinstall it correctly. Then disconnect the clutch slave cylinder and any sensor connectors. Support the transmission with your transmission jack as you remove the mounting bolts.
This is where patience matters. Don't rush. The transmission is heavy and awkward to handle. Once it's out, you'll see the clutch assembly attached to the flywheel. The pressure plate holds everything in place. You'll need to unbolt the pressure plate in a specific pattern — work diagonally, loosening each bolt a quarter-turn at a time. This prevents warping.
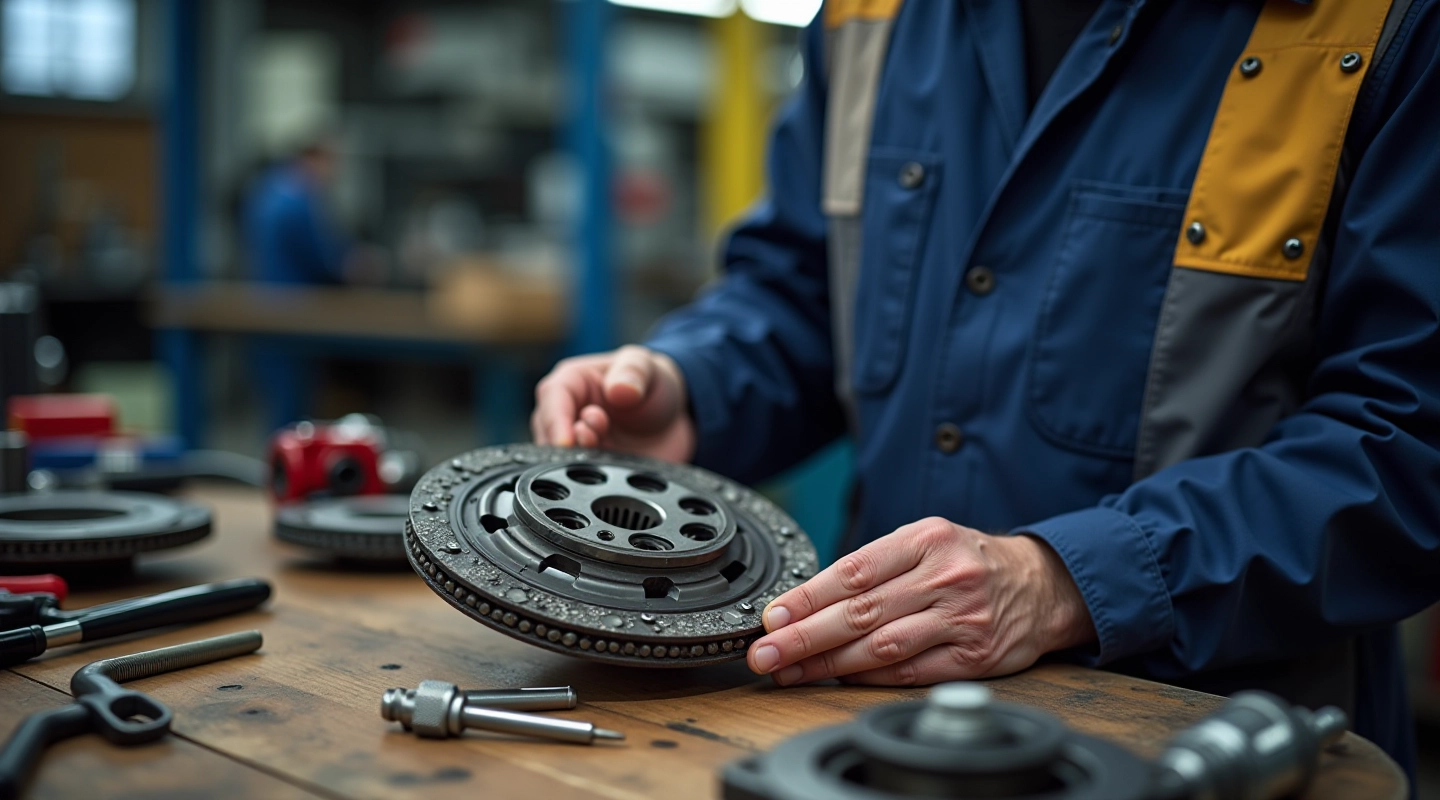
Once the pressure plate is removed, the clutch disc comes out easily. This is when you inspect the flywheel. Look for scoring, heat damage, or warping. If it's damaged beyond light scoring, it needs resurfacing or replacement. The disc friction material should be completely worn through, not just thin.
This article is informational only and provides general guidance on clutch replacement procedures. It's not a substitute for professional mechanical advice. Vehicle repair involves safety risks. If you're not experienced with automotive work, we strongly recommend consulting a qualified mechanic or taking your vehicle to a professional service center. Always follow your vehicle manufacturer's specific instructions and safety guidelines.
Inspection is critical. You're not just replacing the disc — you're assessing the entire clutch system. The flywheel needs careful examination. Run your fingers across it. Minor scoring is acceptable, but deep grooves or blue heat discoloration means it needs work. Many shops will resurface the flywheel for around €80-120, which is worth it for smooth engagement.
The pressure plate can usually be reused if it's not damaged. Look for cracking, warping, or uneven wear patterns on the friction surface. If you're replacing the clutch disc, replacing the pressure plate at the same time isn't required, but many technicians do it for reliability — they wear together, after all.
Check the release bearing (throwout bearing). It's a small component that's often replaced alongside the clutch. Spin it gently by hand — it should rotate smoothly and quietly. Any grinding or resistance means it's worn out. The pilot bearing in the center of the flywheel should also be inspected. It's a needle bearing that's easy to miss but crucial for smooth operation.
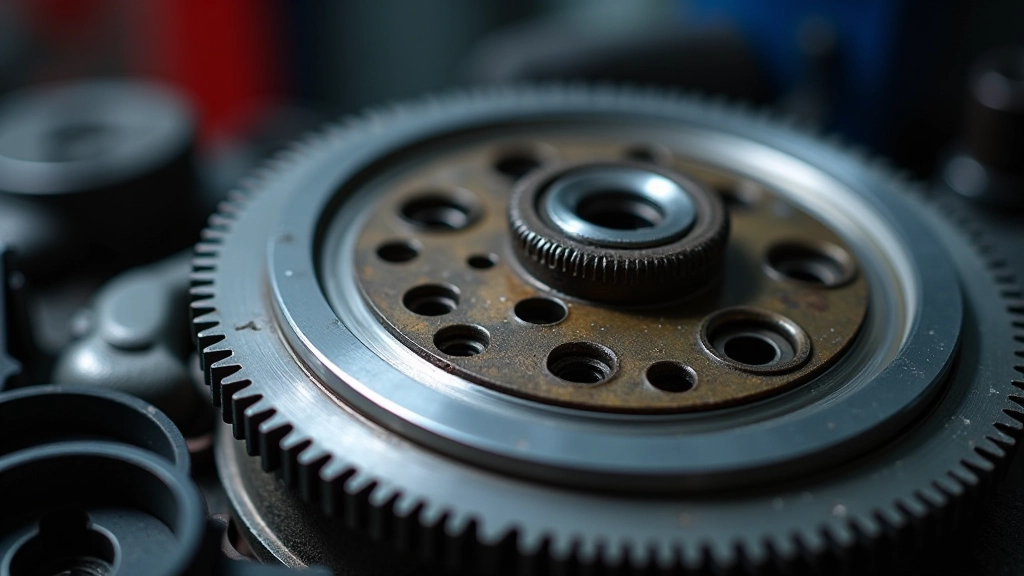
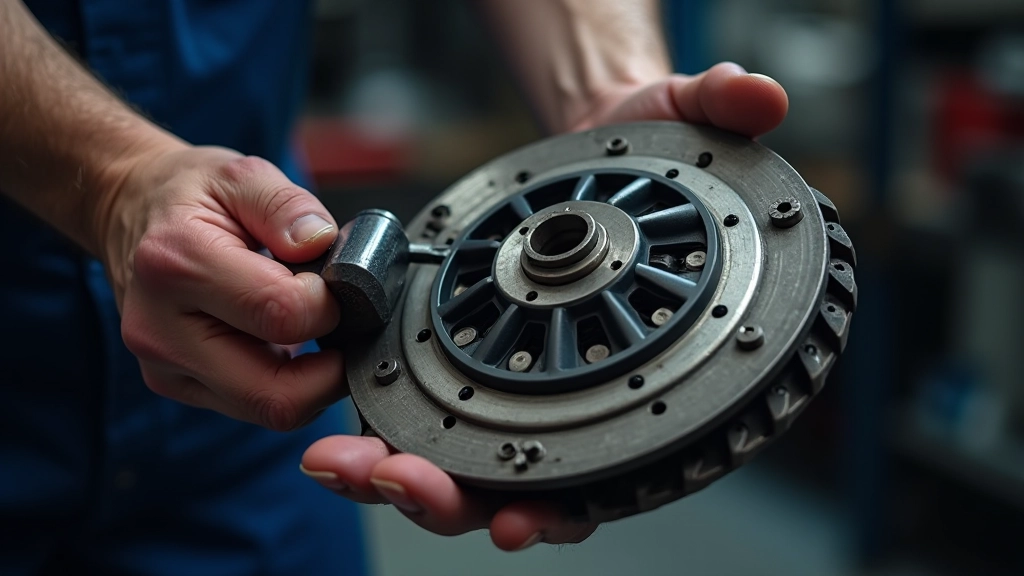
This is where the alignment tool becomes essential. Before you install the new pressure plate, you need to position the clutch disc perfectly centered on the flywheel. The alignment tool slides through the center of the disc and into the pilot bearing, keeping everything aligned while you bolt down the pressure plate.
Install the new clutch disc first, making sure the spring side faces toward the transmission. There's usually an indicator on the disc showing direction. The alignment tool holds it in place. Now install the pressure plate, but don't bolt it down yet. Position it loosely, then tighten the bolts in a diagonal pattern — just like you loosened them, but in reverse.
Use a torque wrench for this step. Your vehicle's service manual will specify the exact torque value, usually between 18-25 Newton-meters. Don't guess. Over-tightening can warp the pressure plate or break bolts. Under-tightening causes slipping. Once you've torqued all bolts, remove the alignment tool carefully.
After you've reinstalled the transmission, reconnect the clutch slave cylinder, driveshaft, and all sensors. Refill the transmission with the correct fluid — check your manual for the exact specification and quantity. The fluid type matters. Using the wrong fluid can cause shifting problems and accelerate wear.
Before starting the engine, check that the clutch pedal feels right. It should have resistance and move smoothly through its range. Reconnect the battery and start the engine. Don't drive the vehicle immediately. Let it idle for a few minutes. Then, in a safe, empty area, test the clutch engagement carefully. The car should move smoothly when you release the pedal, without jerking or hesitation.
The clutch may feel slightly different for the first 100 kilometers. New components need a break-in period. Avoid aggressive shifting or hard acceleration during this time. If you notice slipping, grinding, or other issues, stop driving and inspect your work. Most clutch problems that appear right after replacement are installation errors — usually misalignment or incorrect torque values.
You've now completed a major repair. The whole process typically takes 4-6 hours for someone experienced, longer if you're learning as you go. It's detailed work, but it's absolutely doable with patience, the right tools, and careful attention to each step. Your clutch should now give you another 80,000 kilometers or more of reliable service.
Explore more guides on clutch and transmission repair
How diagnostic equipment identifies transmission problems. Covers common error codes, what they mean, and what happens during a professional diagnostic scan.
Read More
Understanding transmission fluid's role in gearbox health. When you should change it, how to check condition, and what type your vehicle needs.
Read More
A practical overview of the most common transmission issues: grinding noises, slipping gears, and difficulty shifting. What causes them and how serious they are.
Read More